Case form Description |

|

|
|
Case form Description |
|
|
Case form Description |
|
|
|
Case form Description |
|
|
Navigation:
See Add new Case
Case form
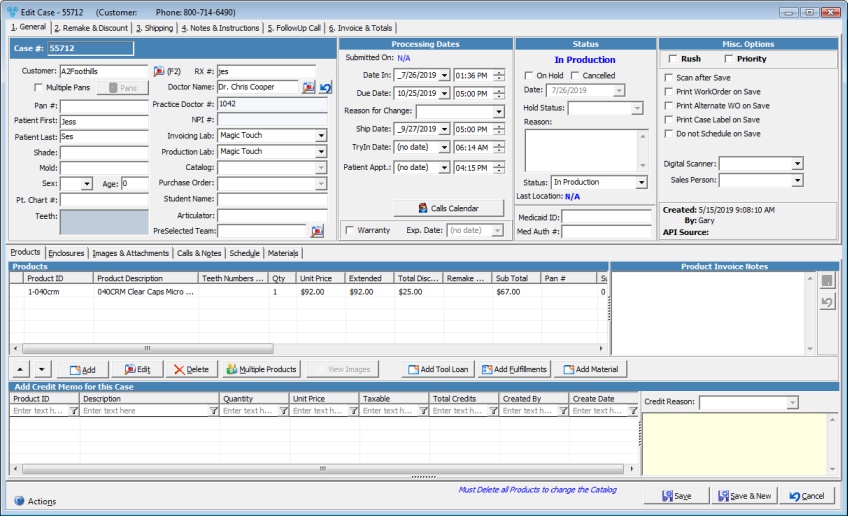
The Case form is divided into two different sections with multiple tabs of information.
The upper section contains the following tabs:
1.General
3.Shipping
7.Misc
The lower section includes the following tabs, the Actions button, two options and the Save and Cancel buttons.
➢ Products -> This tab is where Products are added. See how to add products to a case for more information.
➢ Enclosures -> This tab is where Enclosures are added. See how to add enclosures to a case for more information.
➢ Images & Attachments -> This tab is where Images and Attachments are added.
➢ Schedule -> This tab allows you to manage product tasks once the case has been saved. Upon saving, the schedule will be generated based on the products added to the case.
➢ Materials -> This tab displays the Materials related to each product. The default materials are automatically added upon entry of each product and may be edited or deleted through this tab. See how to add materials to a case for more information.
Note: Another tab will be displayed next to Images & Attachments after the case is saved and opened for editing.
➢ Calls & Notes -> This tab displays any Calls related to the case.
•Actions button - Clicking this button displays several menus along with their shortcut keys. For example, Ctrl+P prints the case Invoice and Ctrl+W prints the case Workorder.
•Scan After Save - When enabled, the scanning module will open after saving the case. From this module you can scan documents to associate with the case.
•Print Workorder on Save - When enabled, the case Workorder will print automatically after the case is saved.
•Print Case Label on Save - When enabled, the Case Label will be printed automatically after the case is saved.
➢ Edit Case - Allows you to make changes to the selected case. Note that if the case is invoiced then no update can be made. ➢ Delete Case - This option will delete the case, but only if it is not invoiced or included in any statement. ➢ Duplicate Case - Allows you to create another case with same details. ➢ New Case - Opens the New Case form. ➢ New Estimate - Enables you to create a new Estimate case. ➢ Remake Case - Creates a remake case of the selected case. ➢ Credit Case - Creates a credit case. ➢ Post Payment - Allows payments to be posted if the selected case is invoiced. ➢ Apply Credit Memo - Apply a credit memo to the selected case. ➢ New Call - Create a new call for the selected case. ➢ New Alert - Create a new alert. ➢ Register Customer Complaint - Allows you to enter a new customer complaint for the selected case. ➢ Invoice Case - Invoices the selected case. Note that at least one product must be present on the case in order to invoice. ➢ Invoice for Try In - Invoices the selected case for TryIn. ➢ Un-Invoice Case - Reverses the Invoice operation. ➢ Reschedule Case - Reschedules all tasks on the selected case. ➢ Print Workorder - Prints the case Workorder. ➢ Print Alternate Workorder - Prints the case Alternate Workorder. The Alternate Workorder is a second workorder that contains the same basic information but looks a bit different than the main Workorder. ➢ Print Invoice - Prints the case Invoice if the case is invoiced. ➢ Print Case Label - Prints the case label. You will be prompted for the number of labels to print. ➢ Print Local Shipping Label - Prints the local shipping label. ➢ Print Carrier Shipping Label - Prints the carrier shipping label. This action can only be performed after the carrier shipment has been created. ➢ E-mail Invoice or Estimate - Sends an email to the customer with the case invoice or estimate attached. This action can only be performed after the case has been invoiced, or if it is an estimate. ➢ Dial Office Phone - Dials the office phone number entered on customer form. ➢ Accept Web Case - Opens the Accept Case form for cases with a Submitted status. Cases receive a submitted status when they are submitted through the Customer Portal or Digital Gateway. ➢ View Case in Customer Currency - Opens the case and shows all monetary values in the customer's currency. ➢ Add Metal - Add a metal to the case. If the case is already invoiced, you may enter the metal's weight but not a price. If the case is not invoiced, you may define both weight and price. ➢ Change Lab - Allows you to change the Invoicing or Production Lab of the case. ➢ Print Invoice Material - Prints a form listing the materials added to the case. ➢ Print Packing Slip - Prints the case packing slip. ➢ Print Audit Trail - The case Audit Trail provides case activity history from the time it was received at the lab to the time it was shipped. |