Add a new Customer |

|

|
|
Add a new Customer |
|
|
Add a new Customer |
|
|
|
Add a new Customer |
|
|
In order to create a Customer and enter values in all available fields, please make sure you have data entered on the following tables: 1. Dental Group -> Path: File > Global Settings > CRM Lists > Customers > Dental Groups 2. State -> Path: File > Global Settings > CRM Lists > Customers > States 3. Country -> Path: File > Global Settings > CRM Lists > Customers > Countries 4. Contact Method -> Path: File > Global Settings > CRM Lists > Customers > Contact Methods 5. Territory -> Path: File > File > Global Settings > CRM Lists > Customers > Territories 6. Source -> Path: File > Global Settings > CRM Lists > Customers > Sources 7. Source Name -> Path: File > Global Settings > CRM Lists > Customers > Source Names 8. Specialty -> Path: File > Global Settings > CRM Lists > Customers > Specialties 9. Type -> Path: File > Global Settings > CRM Lists > Customers >Types 10. Class -> Path: File > Global Settings > CRM Lists > Customers >Classes 11. Tax Item ->Path: File > Global Settings > Global > Laboratory Lists > Tax Rates 12. Catalog -> Path: File > Global Settings > Global > Products & Tasks Lists >Catalog Products 13. Invoicing Lab -> at least one laboratory added on Path: File > Global Settings > Global > Laboratory Lists >Laboratories with This Lab is for Invoicing option checked 14. Production Lab -> at least one laboratory added on Path: File > Global Settings > Global > Laboratory Lists >Laboratories with This Lab is for Production option checked 15. Currency -> Path: File > Global Settings > Global > Currency 16. Route -> Path: File > Global Settings > CRM Lists > Shipping > Routes 17. Carrier -> Path: File > Global Settings > CRM Lists > Shipping > Carriers 18. Service Type -> Path: File > Global Settings > CRM Lists > Shipping > Carrier Service Types 19. Sales Person -> Path: File > Global Settings > CRM Lists > Customers > Sales People |
Adding a new Customer:
1.To add a new Customer:
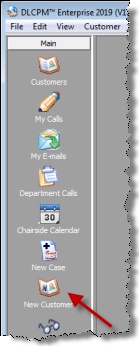
Click on New Customer icon in the left menu panel
Add new customer navigation |
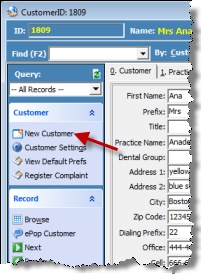
or click on the New Customer button on the left menu of the Customer form Add new customer navigation To open the Customers form either: •Click on the Customers icon on the left Menu tab •Or navigate to View > Customers •Or press F3 key on your keyboard Customer form |
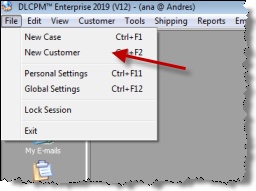
or click on New Customer in File menu
Add new customer navigation |
or simply click CTRL+F2. |
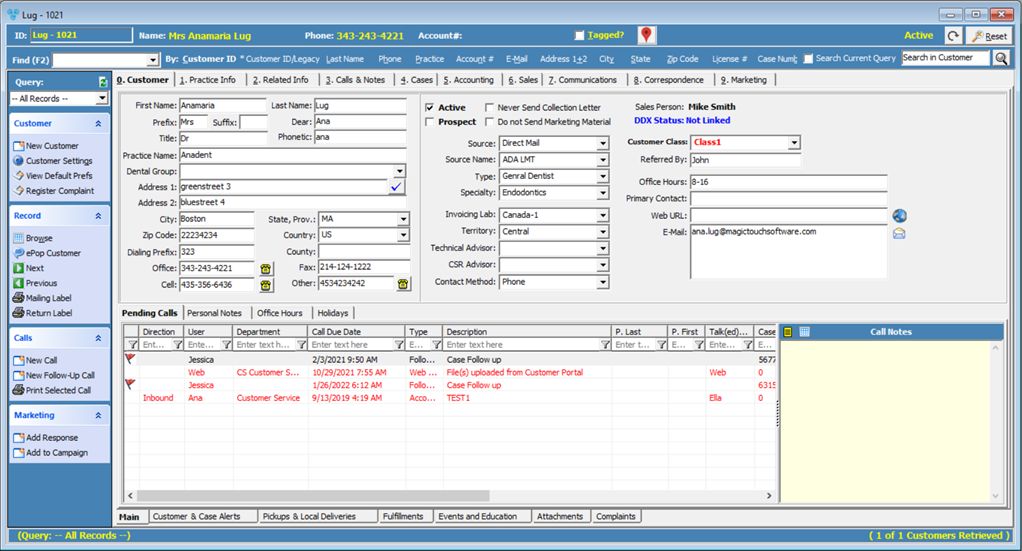
2.The Add new Customer form will open:
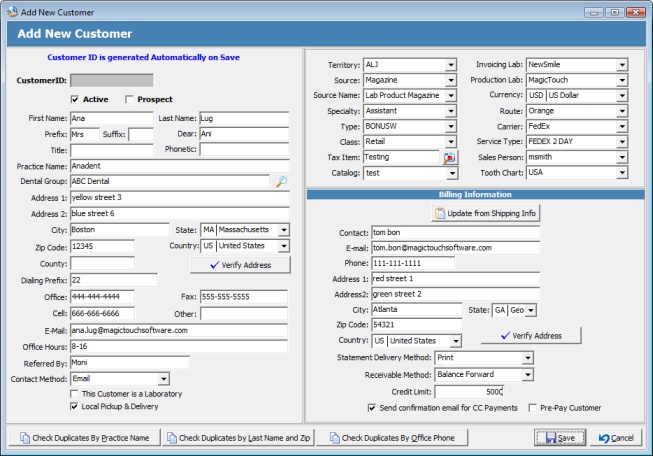
Add New Customer form
3.Enter all necessary details in the Add new Customer form fields.
Notes:
• Customer ID, Invoicing Lab, and Local Route or Carrier are the only mandatory fields, but it is best practice to enter as much information as possible.
• Auto Generate Customer ID is very useful for entering Prospects rapidly during trade shows. If this option is enabled, the Customer ID will automatically be generated based on the last name plus a system sequential number. i.e. "Brown - 1005". Customer IDs can be changed later on.
• Customer can be marked as Active, Prospect, or both, but cases can be entered only for Active customers.
4.During customer creation there are several options to verify that this customer hasn't already been entered:
• ![]() - Check for duplicates by practice name.
- Check for duplicates by practice name.
• ![]() - Check for duplicates by last name and zip code.
- Check for duplicates by last name and zip code.
•![]() - Check for duplicates by phone number.
- Check for duplicates by phone number.
5.Before clicking Save, you can update the Billing Information by clicking on ![]() . This will automatically populate fields where information was inserted so you won't have to retype this information.
. This will automatically populate fields where information was inserted so you won't have to retype this information.
6.Click Save to save the new customer record.
Note: Once the customer is created, make sure that the Phone Number and E-mail address fields are filled in so the customer can be contacted at any time with a single click on the icons next to these fields.
There are also three options under the Customer menu to contact the customer by phone:
Clicking on the E-Mail icon will open the Send E-mail form with the From and To fields automatically populated. The From field will have the user's email address and the To field will populate with the selected Customer's email address. The same will occur if the Send E-mail option is clicked under the View menu when customer form is opened.
See also: