Add Attachments to a Case
Usage:
Doctors may choose to provide electronic files, such as images, documents, etc. that are easily attached to the case with just a few clicks.
This topic describes how to add and maintain Images and Attachments to a case.
Navigation: Cases > New or Edit Case > Images and Attachments tab

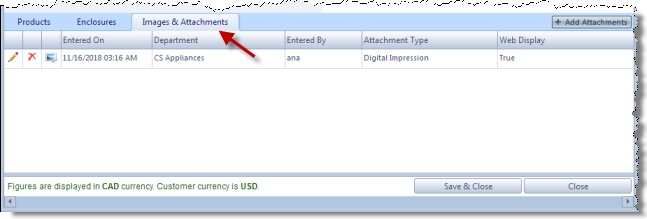
Images & Attachment tab on Cases form
Attachments can be also uploaded to Customer form and assigned to an existing case. Details about this second option are displayed in How to assign Case Number to an Attachment
1.Following either of the above navigation paths will lead to the Images & Attachment tab 2.Click on 3.On Select Case Attachment form •Enter Department if necessary •Select Repository. •Enter Notes •Select the Files you want to add by clicking on Browse files. Several files can be added at once. Note: Customer ID cannot be changed during an image attachment. If the Customer is not the right one, close this form, select the correct customer, and complete the above steps to add the attachment. 4.Click |
Other options:
1.Following one of the above navigation paths will lead to the Images & Attachment tab 2.Click on the |
1.Following one of the above navigation path will lead to the Images & Attachment tab 2.Click on the 3.Enter text in Attachment Notes form and click |
1.Following one of the above navigation path get to the Images & Attachment tab 2.Click on the |
See also:
