DAMAS Procedures |

|

|
|
DAMAS Procedures |
|
|
DAMAS Procedures |
|
|
|
DAMAS Procedures |
|
|
DAMAS is short from Dental Appliance Manufacturers Audit Scheme. The purpose of this feature is to allow you to plan procedures that will be executed frequently for a period of time. Each procedure is defined for a specific laboratory, then under Tools > DAMAS Procedure menu you will find DAMAS Maintenance Log form where you can add already configured procedures or complete the ones that are scheduled for the current date.
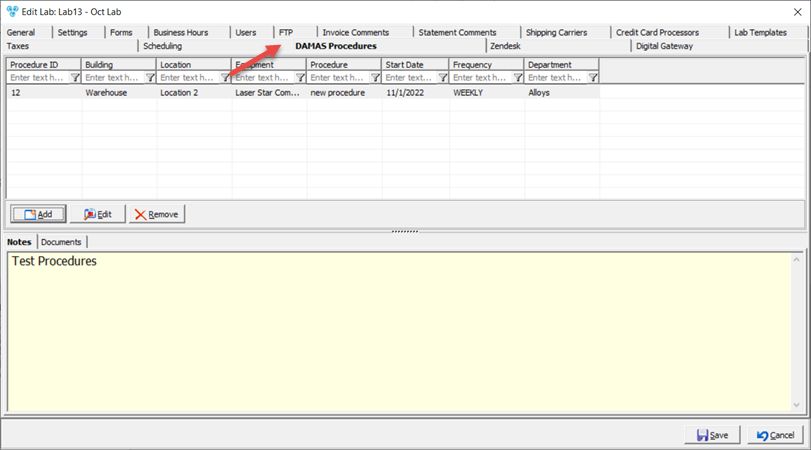
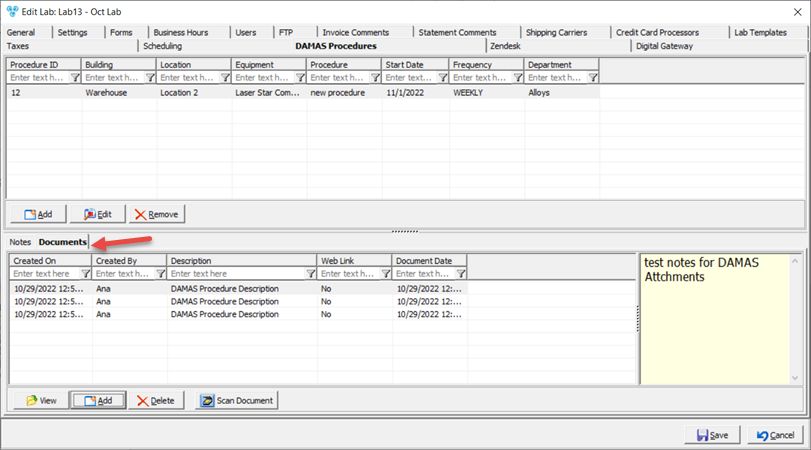
Laboratory form - DAMAS Procedures
1.Click 2.Enter Procedure ID. 3.Select Building. To have a record available in dropdown please make sure it is enetered in File > Global Settings > DAMAS Maintenance > Buildings previously. 4.Select Department. To have a record available in dropdown please make sure it is enetered in File > Global Settings > Products & Tasks Lists > Departments previously. 5.Enter Location or Equipment. Please make sure you added the values in File > Global Settings > DAMAS Maintenance > Location or File > Global Settings > DAMAS Maintenance > Equipment 6.Enter Procedure. Please make sure you added the values in File > Global Settings > DAMAS Maintenance > Procedure 7.Enter date to Start on. 8.Select Frequency. 9.Enter Notes. 10.Click OK and the new record will be added. |
1.Select the Record you want to update by clicking on it. 2.Click 3.Make the changes. 4.Click You can also Add or Remove Documents:
Laboratory form - DAMAS Procedures tab 1.Select Documents tab 2.To Add Document: ➢ Click on the ➢On Add DAMAS Attachment form fill in information such as: DAMAS Procedure ID, Description . ➢If Web Link option is unchecked you can upload up to 6 files at once. The files can be selected by clicking on the envelope icon next to each field and selecting the document that will be attached. ➢ If Web Link option is checked then up to 6 URL names can be entered and saved. ➢ The Notes section is available for entering any specific information, notes, and clarification. ➢ Click 3. To Delete a Document: ➢Click on the line in the grid which contains the attachment you want to delete. ➢Click on ➢Select Yes when asked for confirmation. 4.To View a Document ➢Click on the line in the grid which contains the attachment that will be viewed. ➢Click on 5. To Scan a Document ➢Click on ➢Scan the documents and enter Notes |
1.Select the Record you want to delete by clicking on it. 2.Click 3.Select YES when prompted for confirmation. Note: Record will be deleted from the database, but you can add it back at any time. |
See also: