User Setup & Configuration |

|

|
|
User Setup & Configuration |
|
|
User Setup & Configuration |
|
|
|
User Setup & Configuration |
|
|
Usage:
Any changes made within the System Admin Program require users to log out and log back into CPM in order for the changes to take effect.
Please Note: You must have admin rights in order to access the Administrator menu and the System Admin Program.
Navigation: Administrator > System Admin Program
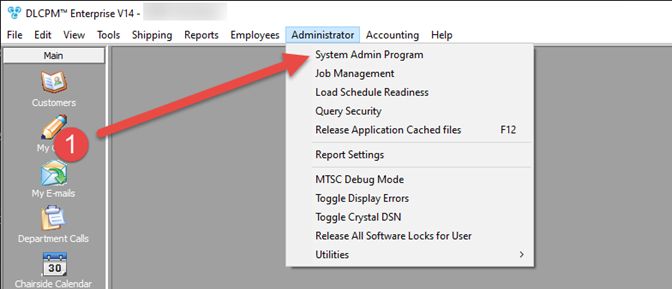
System Admin Program navigation
Use your DLCPM credentials to login to the client.
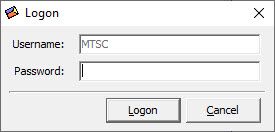
Logon form
1.Once you enter your credentials, MTS AppBuilder System Administrator (QA) window will launch.
2.We are going to focus on the section Users, please select this and you will see a list of all current users in your environment.
3.You have a couple options to add a user. Right click on any name within this list. You can either create a user from scratch by selecting New User, or you can copy a user. When you copy a user, the system will replicate all the application permissions and groups assignments to that user. This is particularly useful as you set up multiple users who share the same job responsibilities. The only remaining task needed when copying a user is setting their login credentials and marking them as active. If you select "new user", you will need to assign that user their "application policies". Application policies are to be treated like system permissions and will be expanded on further in this guide.

MTS AppBuilder System Administrator (QA) form
4. When creating a new user or copying an existing user, you will be prompted to set up their login information. **This will also be where you can reset a user’s password should they forget**. Once this form has been filled out, make sure you tick the box This user is active if the user should be currently active in DLCPM. If you select Copy User, once this page is filled out, hit OK and the setup of that user is complete. If you selected New User please advance to the next step.
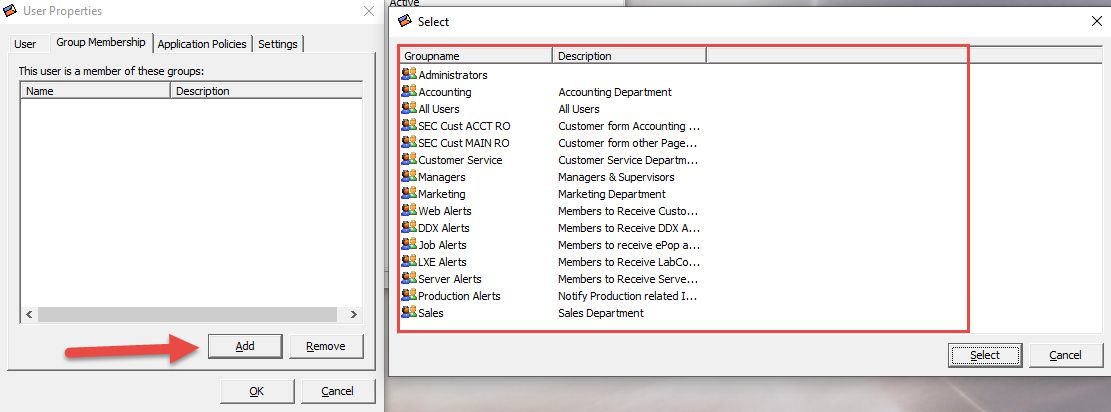
5.Once the user has been marked as active, it is time to assign them to a group. Groups are ways to categorize your users to simplify reporting and alerts. IE: I am assigned to the Managers group. If I want to send an alert to all managers, I will be notified. If I send an alert to "accountants" and I do not belong to this group, I will not receive alerts set to send to the accounting group.
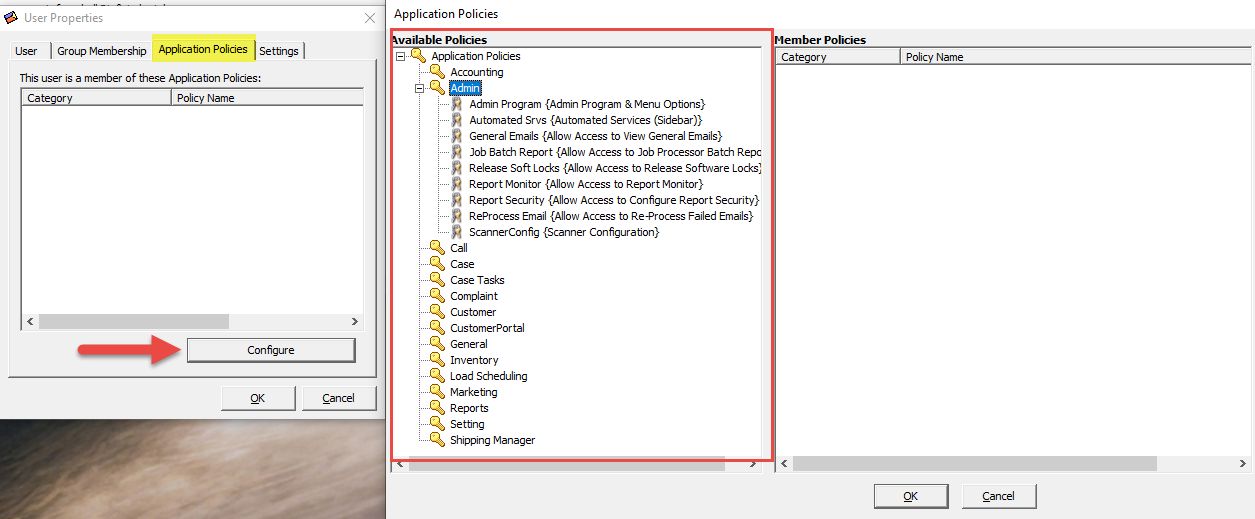
6. The last section needed to set up a new user is the Application Policies section. This section is where you will decide a user’s permissions within DLCPM. Each available policy is categorized by the functions within DLCPM. Simply click on Configure. Then, click on each key to expand the selection for that category, double click on the permission you want to add, then click OK once complete. *Remember, once you set-up a user, you can then copy the user which will mirror any permissions set during this step. This will be the most efficient way in setting up additional users.
Please note: There are application policies that permit functions AND there are application policies that restrict functions. If you simply add all permissions to a user without going through them, your user will be restricted from some functions in DLCPM.
You can find a list of each application policy we offer here
See also: