|
TNT |

|

|
|
|
TNT |
|
|
TNT
|
TNT |
|
|
|
|
TNT |
|
|
Each Lab may have their own shipping account. These are TNT Shipping options:
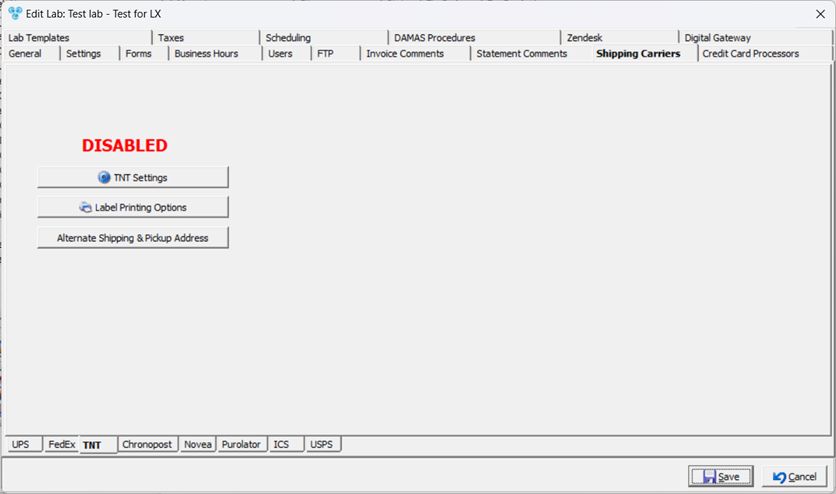
1.TNT Settings
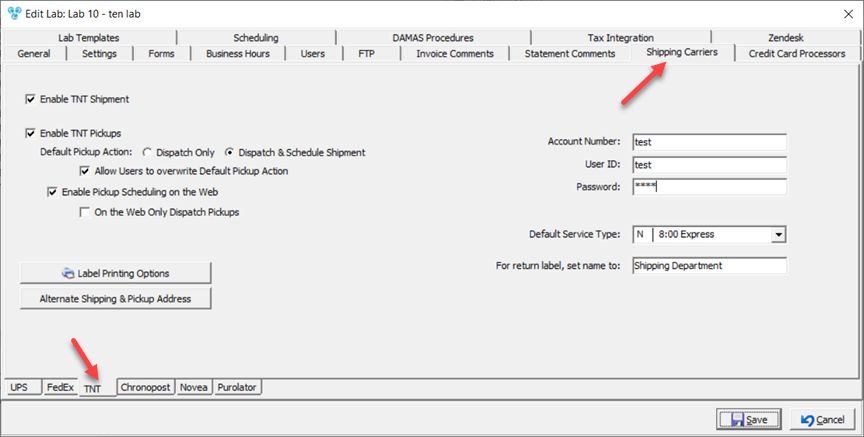
Shipping Carrier - TNT tab
1.Enable TNT Shipment - to allow shipping with TNT.
2.You may select the option Enable TNT Pickup. Only if this option is enabled is when you are allowed to make further settings for pickups.
➢You will be able to choose which would be the Default Pickup Action between: Dispatch Only or Dispatch & Schedule Shipment
➢Also you may decide if you want to Allow Users to overwrite Default Pickup Action by checking the box next to this option.
➢If you wish to Enable Pickup Scheduling on the Web check this option. If you select this option then you will be able to make two restrictions: On the Web Only Dispatch Pickups and/or Allow Only Default Service Type on the Web
3.Label Printing Options:
➢ click on ![]()
➢Shipping Label Options form displays
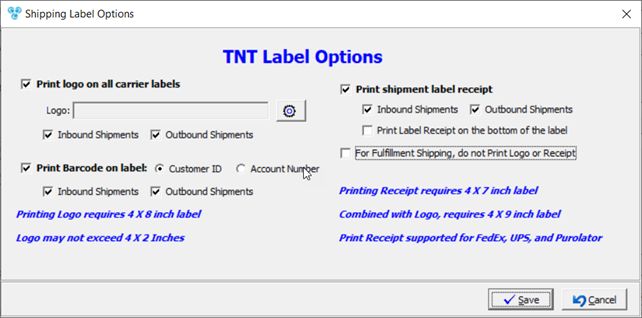
Shipping Label Options
➢ Print logo on all carrier labels - printing logo requires 4X8 inch label.
•Enter Logo - Logo may not exceed 4X2 inches
•Select Inbound and/or Outbound Shipment
➢Print Barcode on label - if checked the select on what label to print between Customer and Account Number and select printing for Inbound and/or Outbound Shipment
➢ Print shipment label receipt - check if you need to print shipment label receipt. Following there are some options for this label
• Select printing for Inbound and/or Outbound Shipment
• Print Label Receipt on the bottom of the label - not supported with Novea. Printing Receipt requires 4X7 inch label, combined with Logo, requires 4X9 inch label Print Receipt supported for FedEx, Ups and Purolator
➢ For Fulfillment Shipping, do not Print Logo or Receipt.
➢Click ![]() when done.
when done.
4.Enter if necessary Alternate Shipping and Pickup Address - you can add alternate Outgoing Shipments address and alternate Incoming Pickups addresses.
➢Click on ![]()
➢Alternate Shipping and Pickup address form will open
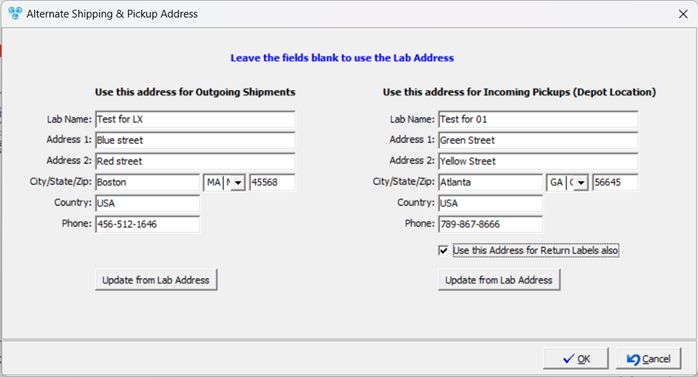
Alternate Shipping and Pickup address form
Please Note: If you wish to use the Lab address the leave the fields blank, or use the ![]() button to update Outgoing or Incoming addressees with the Lab Address.
button to update Outgoing or Incoming addressees with the Lab Address.
➢Enter Address for Outgoing Shipments
➢Enter Address for Incoming Shipments (Depot Location)
➢Check Use this Address for Return Labels also if you need the same address for the Return Label.
➢Click ![]()
![]() when done.
when done.
5.Enter Credentials:
➢ Fill in: Account Number, User ID and Password.
➢ Select a Service Type that will be default type when shipment will is scheduled. Select from the options in the Default Service Type drop down list.
➢For return label, set name to - enter name
See also: