Tasks |

|

|
|
Tasks |

|

|
Usage:
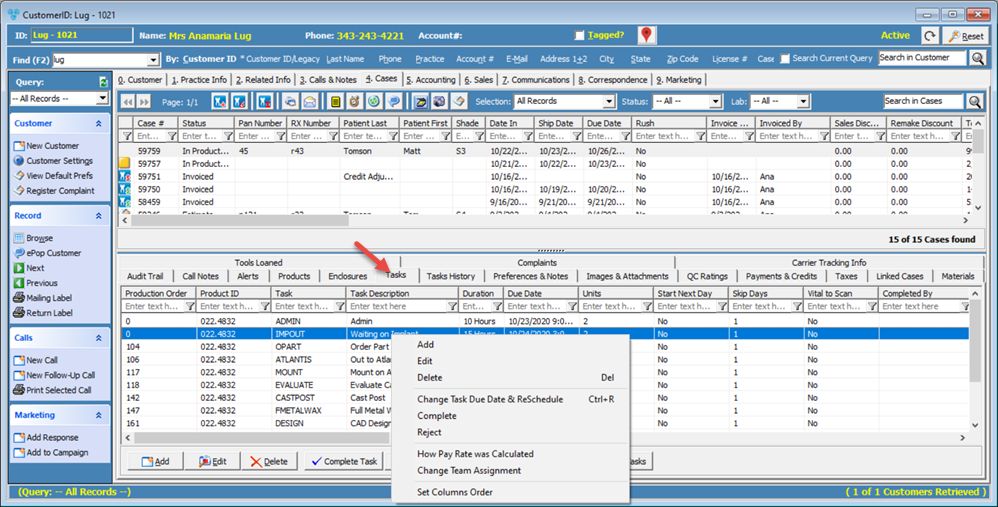
Tasks tab displays the list of corresponding tasks for each added product. Tasks are usually added to the product before the product is added to the case, but DLCPM allows user to add, edit or remove tasks even after case creation. Please read How to add tasks to a product before going further.
Navigation: Customer > 4. Cases OR Case Finder > Tasks tab

Tasks tab
There are visual indication on Tasks page for late tasks:
•Green means it was complete on or before task due date
•Yellow means it was completed late
• Red means it is not completed and the due date is passed
•No legend means due date is in the future
Available options:
1.Click 2.Add Tasks form displays
Add Tasks 3.Select the Product from the dropdown for which you want to add the new Task. Note that only the products added to the case are available. 4.Click on 5.Enter info like Sequence, Unit Value. 6.Select Production Lab - Select only if this task is produced in a Lab other than default Lab. 7.Enter Due Date,QC Rating and QC Date. 8.Assign the task or make it complete if the task is already completed by someone. 9.Check Ignore Product quantity (Flat Rate) - If checked, the schedule is created with quantity of 1 regardless of the product quantity specified in the case. This option is useful where you may have a product with 3 units but you would want a given task like Model for example, to be scheduled only once. 10.Check Vital to Invoice or Vital to Scan if this is the case. 11. Enter Lot Number. 12.Check TryIn Break Point - If a given task is set as the break point, all tasks up to and including this task are scheduled. All tasks beyond the set break point are deleted from the case when scheduled. 13.Click Ok to save the new Task. |
1.Select the Task you want to update 2.Click 3.Edit Tasks form displays 4.Make the necessary changes 5.Click Ok to save the updates. |
1.Select the Task you want to Delete 2.Click 3.Select Yes when asked for confirmation. |
1.Select the Task you want to Complete 2.Click 3.Complete Tasks form displays
Complete Tasks 4.Enter Technician ID 5.Enter Pay Rate 6.Check Print QC Accept label which will print a standard mailing label. This option is enabled when completing a QC Task. 7.Click 8.Once the task is Completed a new record will be created in Tasks History tab |
1.Select the Task you want to Reject. Make sure it is a completed task, otherwise this option is not available. 2.Click 3. Reject Tasks form displays
Reject Tasks 4.Enter Reject Units. 5.Select Reject Reason and enter Reject Reason Notes. 6.Pay Technician for the Rejected Task (Per Unit) - Enter the amount that will be still payed for the rejected task. It can be a Flat Amount, or a Percentage from the Task Pay Rate displayed there. 7.Check Reject Only, Do Not Clear Completion Info if you want to keep your task completed. 8.Check Print Reject Slip which will print a report with rejected task and other info. This option is not available when rejecting multiple tasks. 9.Click |
1.Select the Task you want to Re-Scan. Make sure it is a completed task, otherwise this option is not available. 2.Click 3.Select Yes when asked for confirmation. |
![]() Change Due Date and Reschedule
Change Due Date and Reschedule
1.Select the Task you want to change. 2.Right click and select Change Due Date and Reschedule 3.Enter New Due Date. 4.Click |
See also:
Case Tabs Description for more details of other tabs