UPS
UPS Integration
Requirements:
In order to use the integration services, you must register with the respective carriers. This registration is required even if you already have an account. It is strongly recommended that you contact your UPS account representative for assistance.
***Important:
If for any reason you need to contact UPS Support regarding your account and the integration, please state that you are using a UPS Certified software with Magic Touch Software. This will ensure you are routed to the correct UPS Support teams. The UPS integration uses XML API or XML Shipment Request. During the registration process, you will be asked which tools you are interested in.
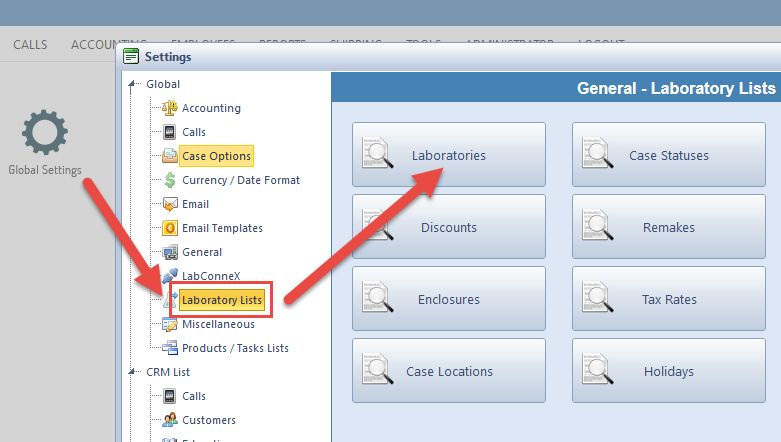
1. Please navigate to the Laboratories section of the Global Settings.
2. Click Edit on the lab you wish to update. Navigate to the Shipping Carriers tab, and then the UPS sub-tab.
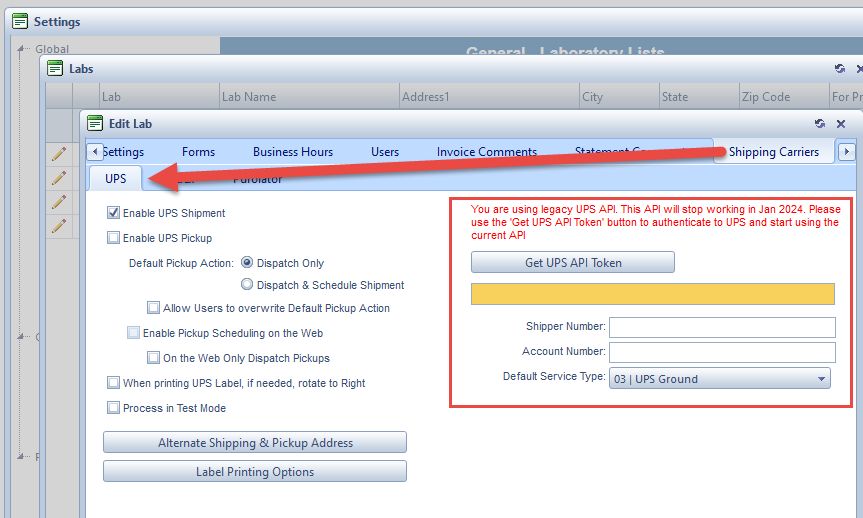
Once the UPS Settings form is open, be sure that the "Process in Test Mode" checkbox is NOT enabled.
3. Click on “Get UPS API Token” button to generate a token required to use UPS services.
4. A UPS web page should open, asking for the email or username of your UPS account.
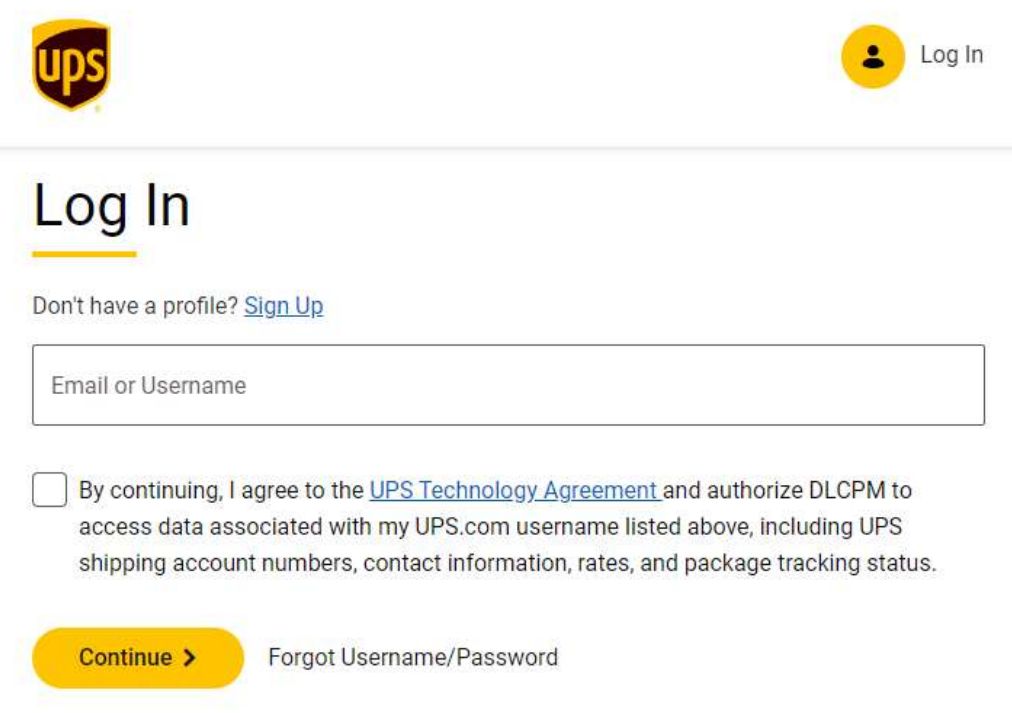
5. Once entered, check the available check box, authorizing DLCPM Enterprise to access necessary data associated with UPS, and then click ‘Continue’.
UPS will prompt for the password to your UPS account.
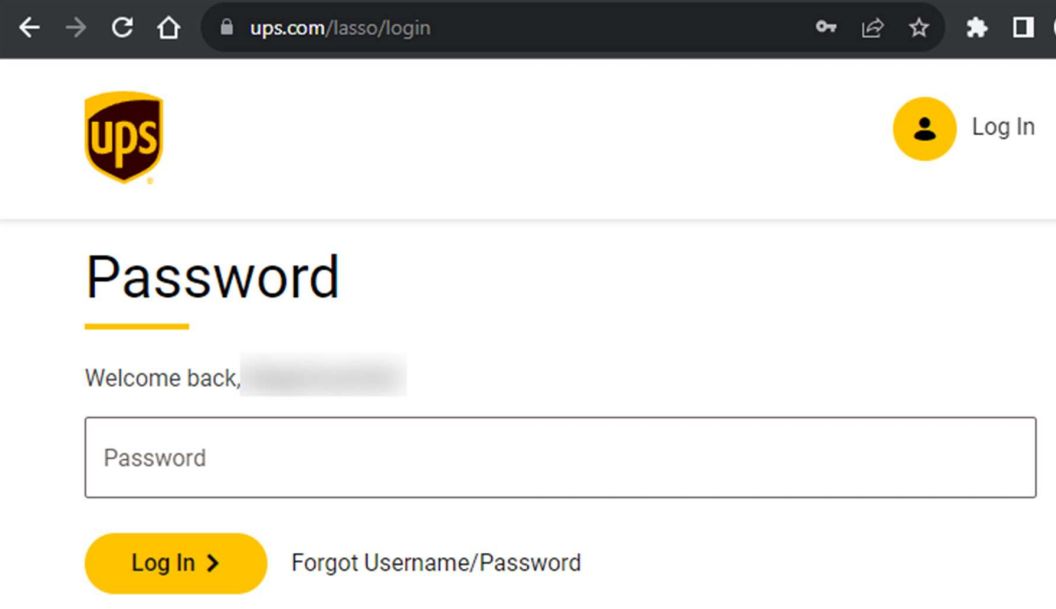
Enter your password and click log in.
If successful, UPS will let you know that a token was generated successfully and the web page can be closed.

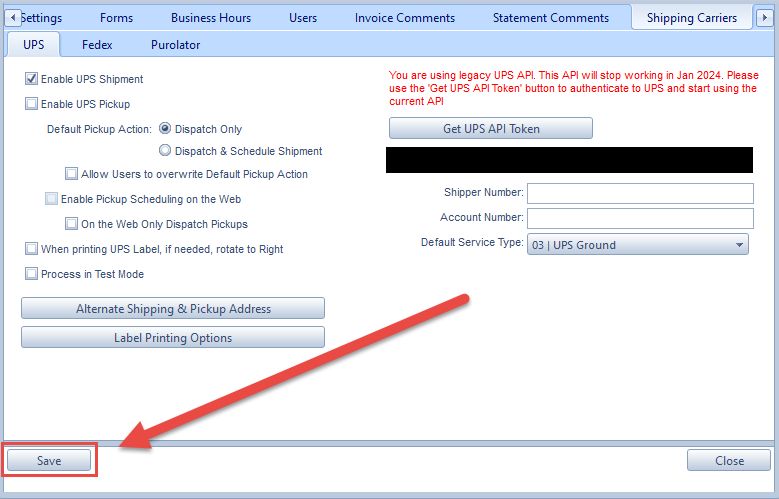
If any other page loads indicating that the token was NOT successfully generated, please take a screen shot of the web page and contact Magic Touch's Support team for next steps. If the token was successfully generated, navigate back to the global settings, and you will see the UPS API Token populated with the generated token. Fill in the rest of the fields in the form as necessary. On the right side of the form, enable UPS Shipment and continue to configure all other options as desired.
6. Once all configuration is complete, click "Save" to ensure your change get applied.
